It’s taken me a couple of months to get around to creating this page, but hopefully it will help others who decide to dismantle their Matchless or AJS hubs. Yet more ‘cousin problems’ were uncovered in the process…the manual suggests you dismantle and examine the bearing assemblies in the hubs every 10,000 miles. Chances are, yours haven’t been done in decades; can you remember them being done?
My bike came back from my cousin in 2005…almost seventeen years ago now. When it came back I was told the bearings had been checked and they were fine, there was a little more play in the rear bearings than usual…but I needn’t worry. Both bearings had apparently been greased, and for the mileage I was likely to do, I didn’t need to worry about injecting grease into the hubs…or so I was told. I didn’t do many miles on the bike as life was busy and my health hadn’t been brilliant.

Rebuilt Circlip Side of Rear Wheel
In 2021 and 2022 I’d rebuilt many of the mechanical parts of the bike which needed doing, but the rust on the wheel rims spoiled the bike and I did want to check the bearing assemblies. The opportunity came to check the bearings after I removed the wheels and had the rims and spokes replaced with stainless ones; the brief story is here. Once the wheels were out of the bike, I noticed that both the front and rear spindles felt a little rough when turned.
The 1953 Matchless Owners Manual covers the process of dismantling and reassembling the hubs quite well, so I won’t repeat it. You will need access to a workshop ten ton press and your tyres will need to be off, as most presses only have a width capacity of 20 or 21 inches; the rims alone are 19 inches in diameter. A selection of metal tube offcuts and some old hub washers would be handy too.
I tackled the rear hub first
There’s a felt seal in there somewhere
Mine is the 1953 wide cotton reel hub; it’s four inches wide. The first job is to remove the sprocket and brake drum assembly, once the wheel is off. It would be a good time to check and service the brake assembly too. Some people suggest using a hammer and drift or socket to remove the bearings. Don’t do this as it may damage the hub bore and the bearings…which you may want to reuse. I suggest you do what I did, and use a piece of strong threaded rod, a selection of washers, sockets and nuts to make a puller to extract the bearings. The manual says to apply pressure so you may prefer to use a press instead. If the bearings have been in for a while, they will break free suddenly with a dull crack.
Once the bearings are out, clean them thoroughly and then inspect them for pitting, cracks and any other damage. If they are perfect, you can repack them with grease and refit them, remembering to pack the hub carefully with new grease. If not, you should replace them and reassemble the hub as described in the manual.
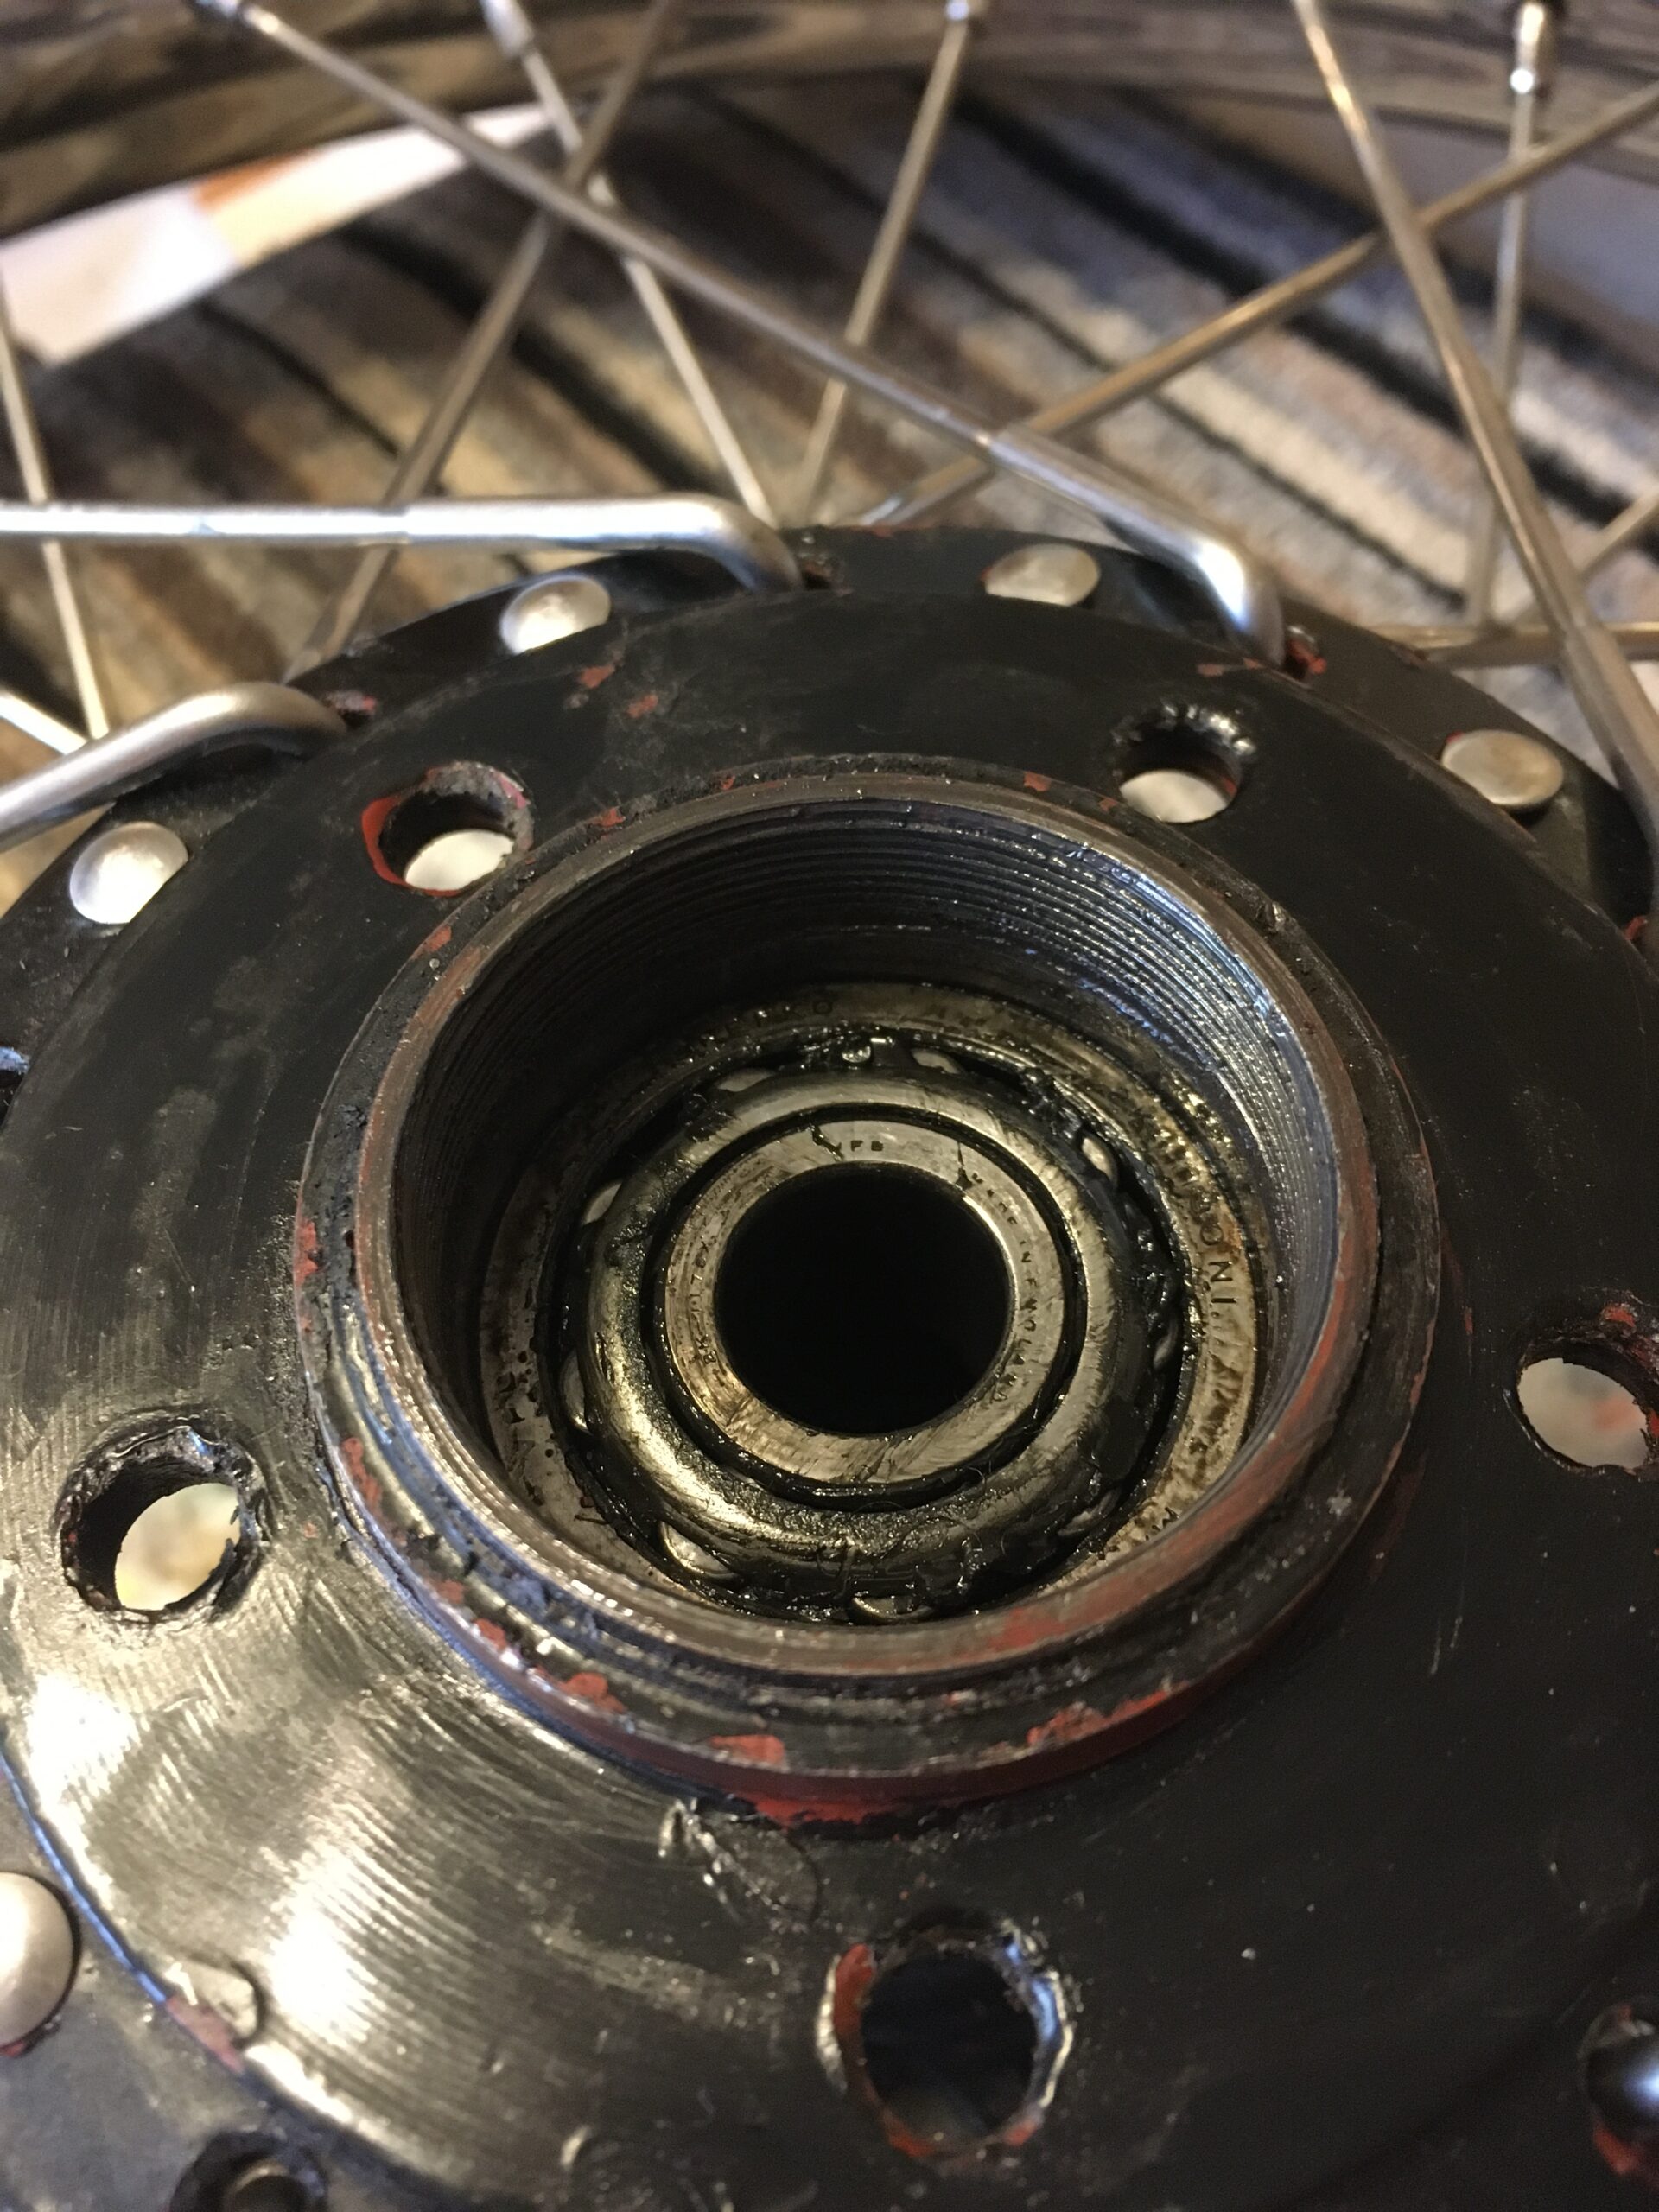
What did I find when I dismantled my rear hub?
On the adjuster side, the felt oil seal had mostly disintegrated and been pulled into the bearing…because a ’22 – washer, metal, between oil seal and spacer’ hadn’t been fitted. On the circlip side a ’17 – spacer, between oil seal washer and taper bearing’ was missing, although the oil seal was actually still present. On this side, I suspect the circlip had been removed to check the oil seal…and it won’t go back together again, unless you follow the bearing removal and reinstallation procedure.

Pitted Rollers
Some of the rollers in the taper bearings were badly pitted and one inner race had a chunk of metal missing. The grease that was in the hub was hard; in my opinion probably the original grease that the hub had injected back in the factory.
Handy tip – keep the old grease as it’s great for holding nuts and screws on the end of tools, when you’re trying to get them into a tricky place.
The hub was carefully cleaned and new parts ordered from Steve at AMC Classic Spares. Steve didn’t have the Timken taper roller bearings, but an eBay seller just happened to have a pair of new old stock ones to fit my bike, at just the right time.
It’s worth fitting the right parts…keep an eye on eBay for odd parts you need. If you save your searches, eBay can alert you when there are new listings. Steve at AMC Classic Spares also offers an alternative, modern bearing arrangement, for the rear wheel.
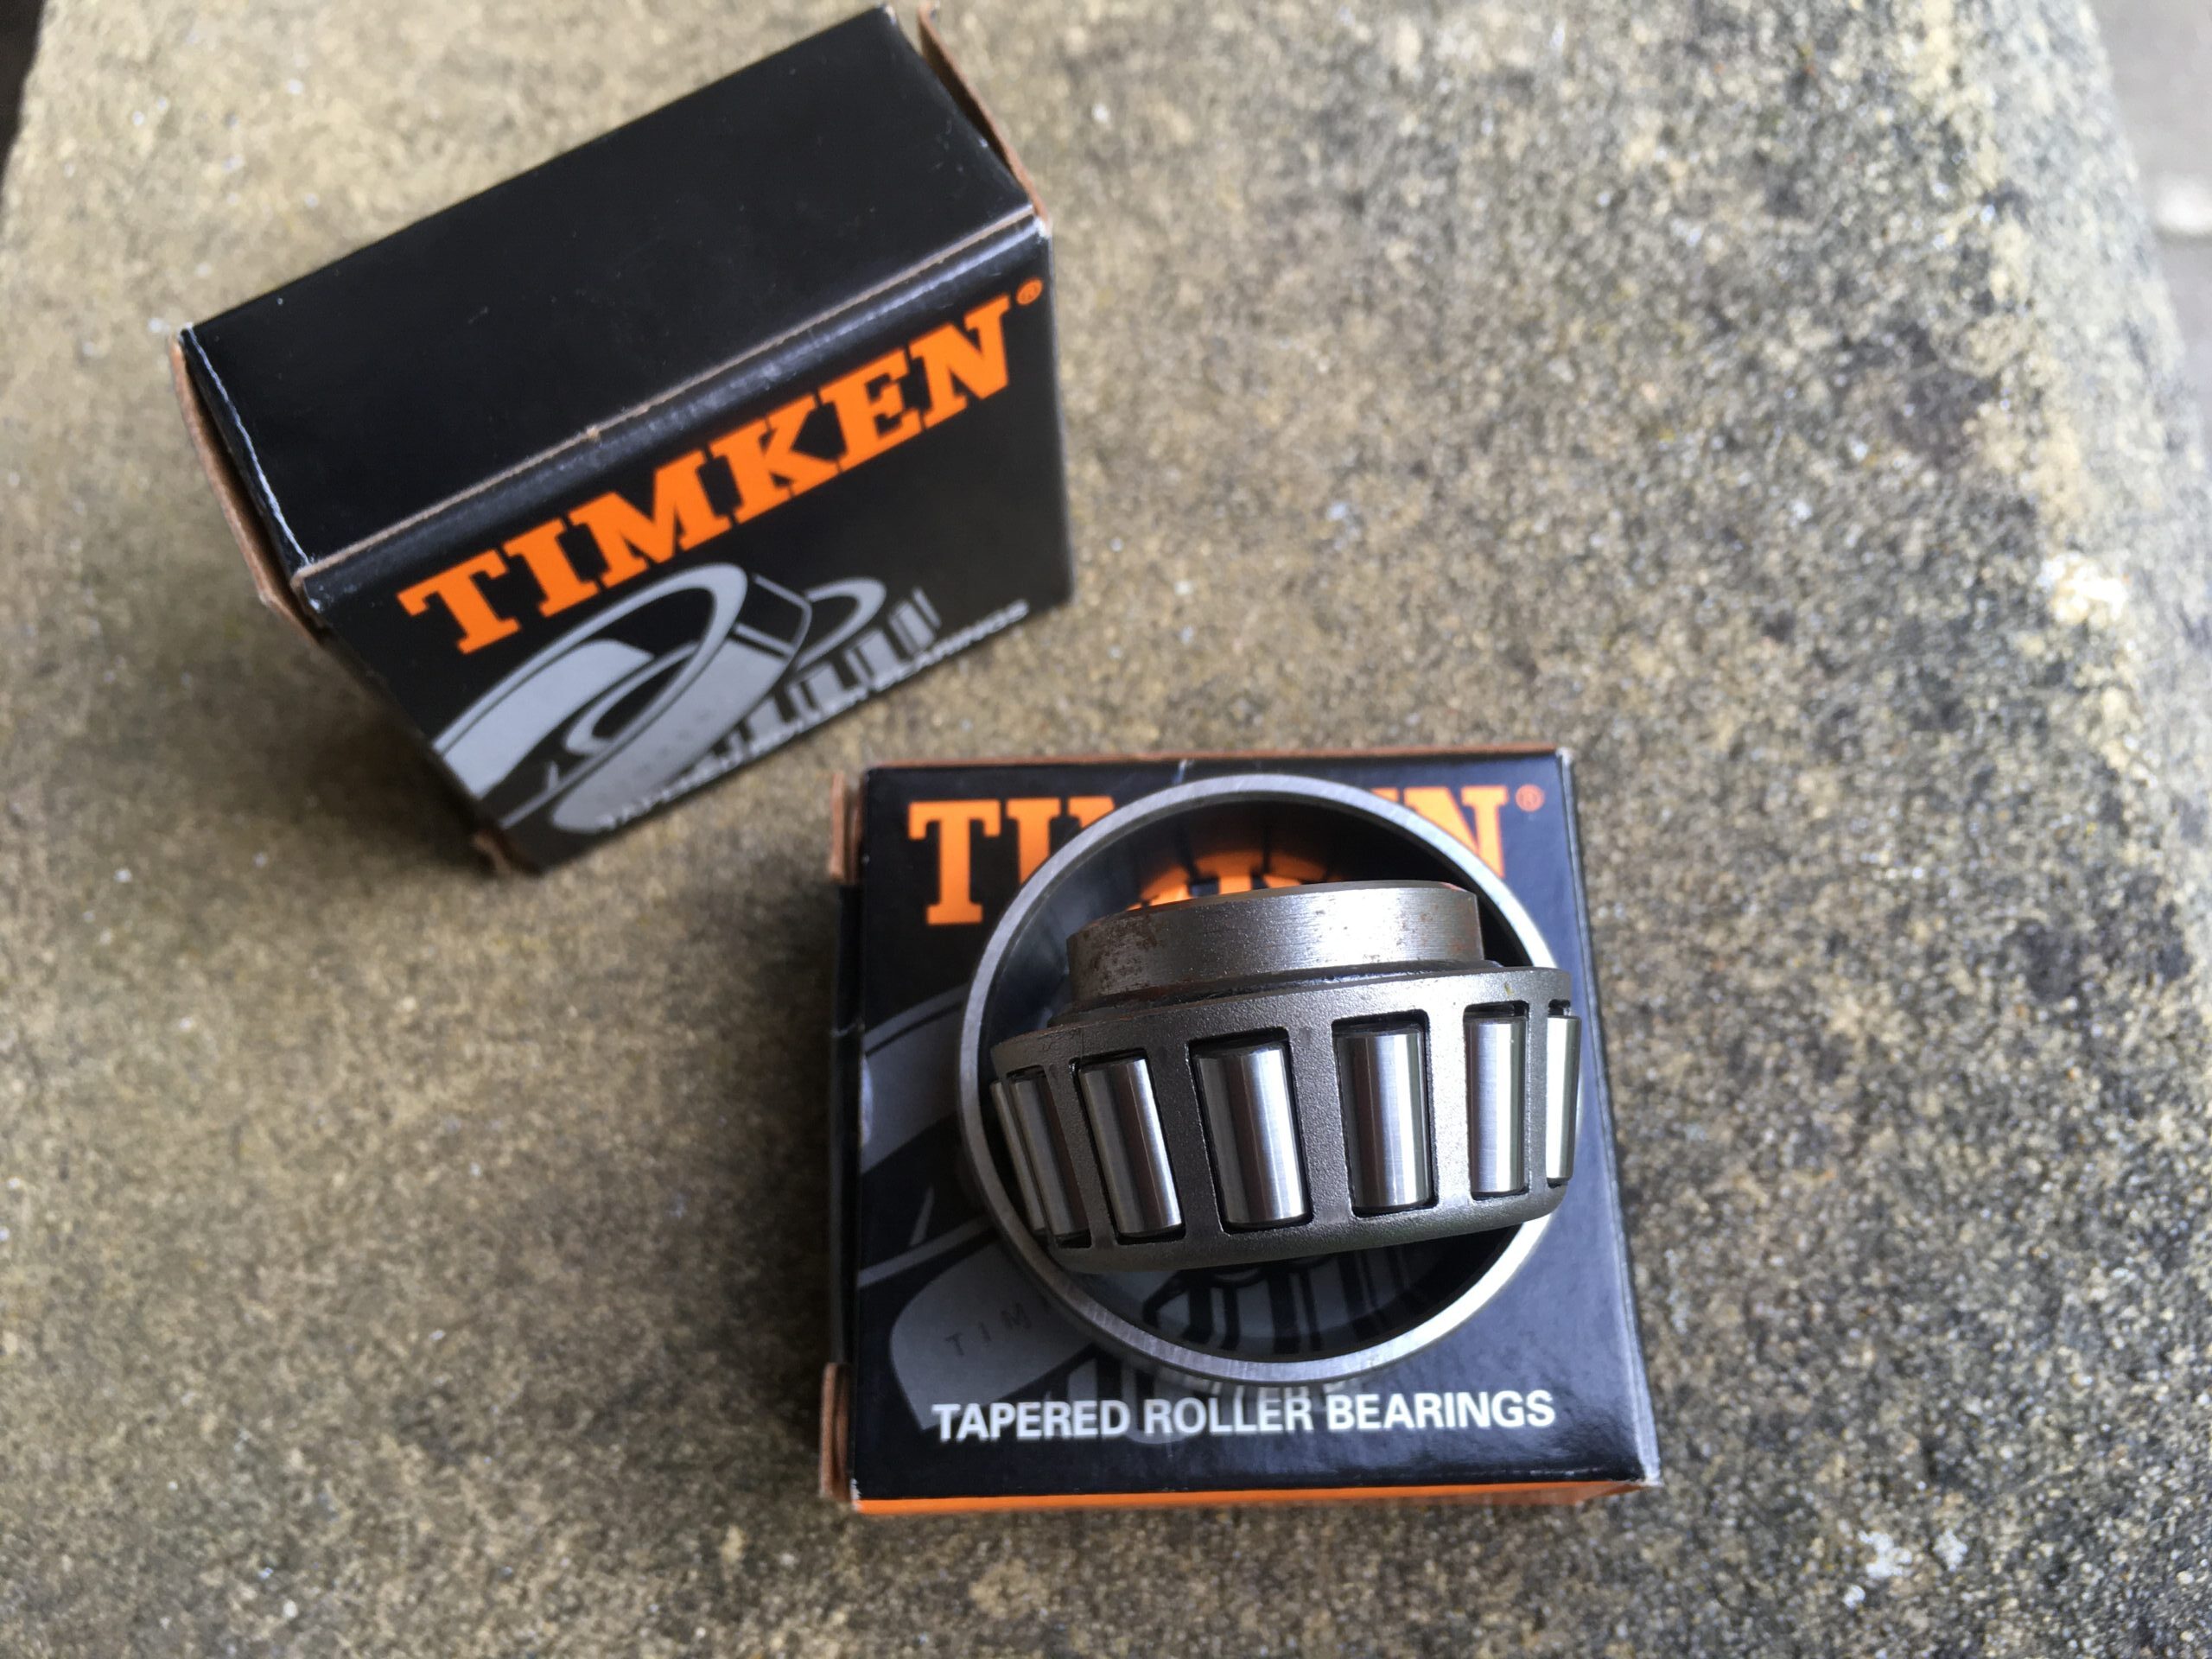
New Timken Bearings
Once reassembled and repacked with grease, the backlash in the hub was as it should be, and the brake assembly actually fitted better. Interestingly, I found no metal fragments in the old grease…not as yet, anyway.
Then I tackled the front hub
My front wheel is actually a later 1956 ‘barrel shaped’ hub. The bearings and spindle form an assembly which needs to be removed as a whole; the spindle does not come out on its own. You will therefore need to use a press to remove it, as described in the manual. I suggest you put a nut on the threaded and of the spindle when using a press, to protect the threads. At the end, the bearing and spindle assembly will drop out, so be ready to catch them.
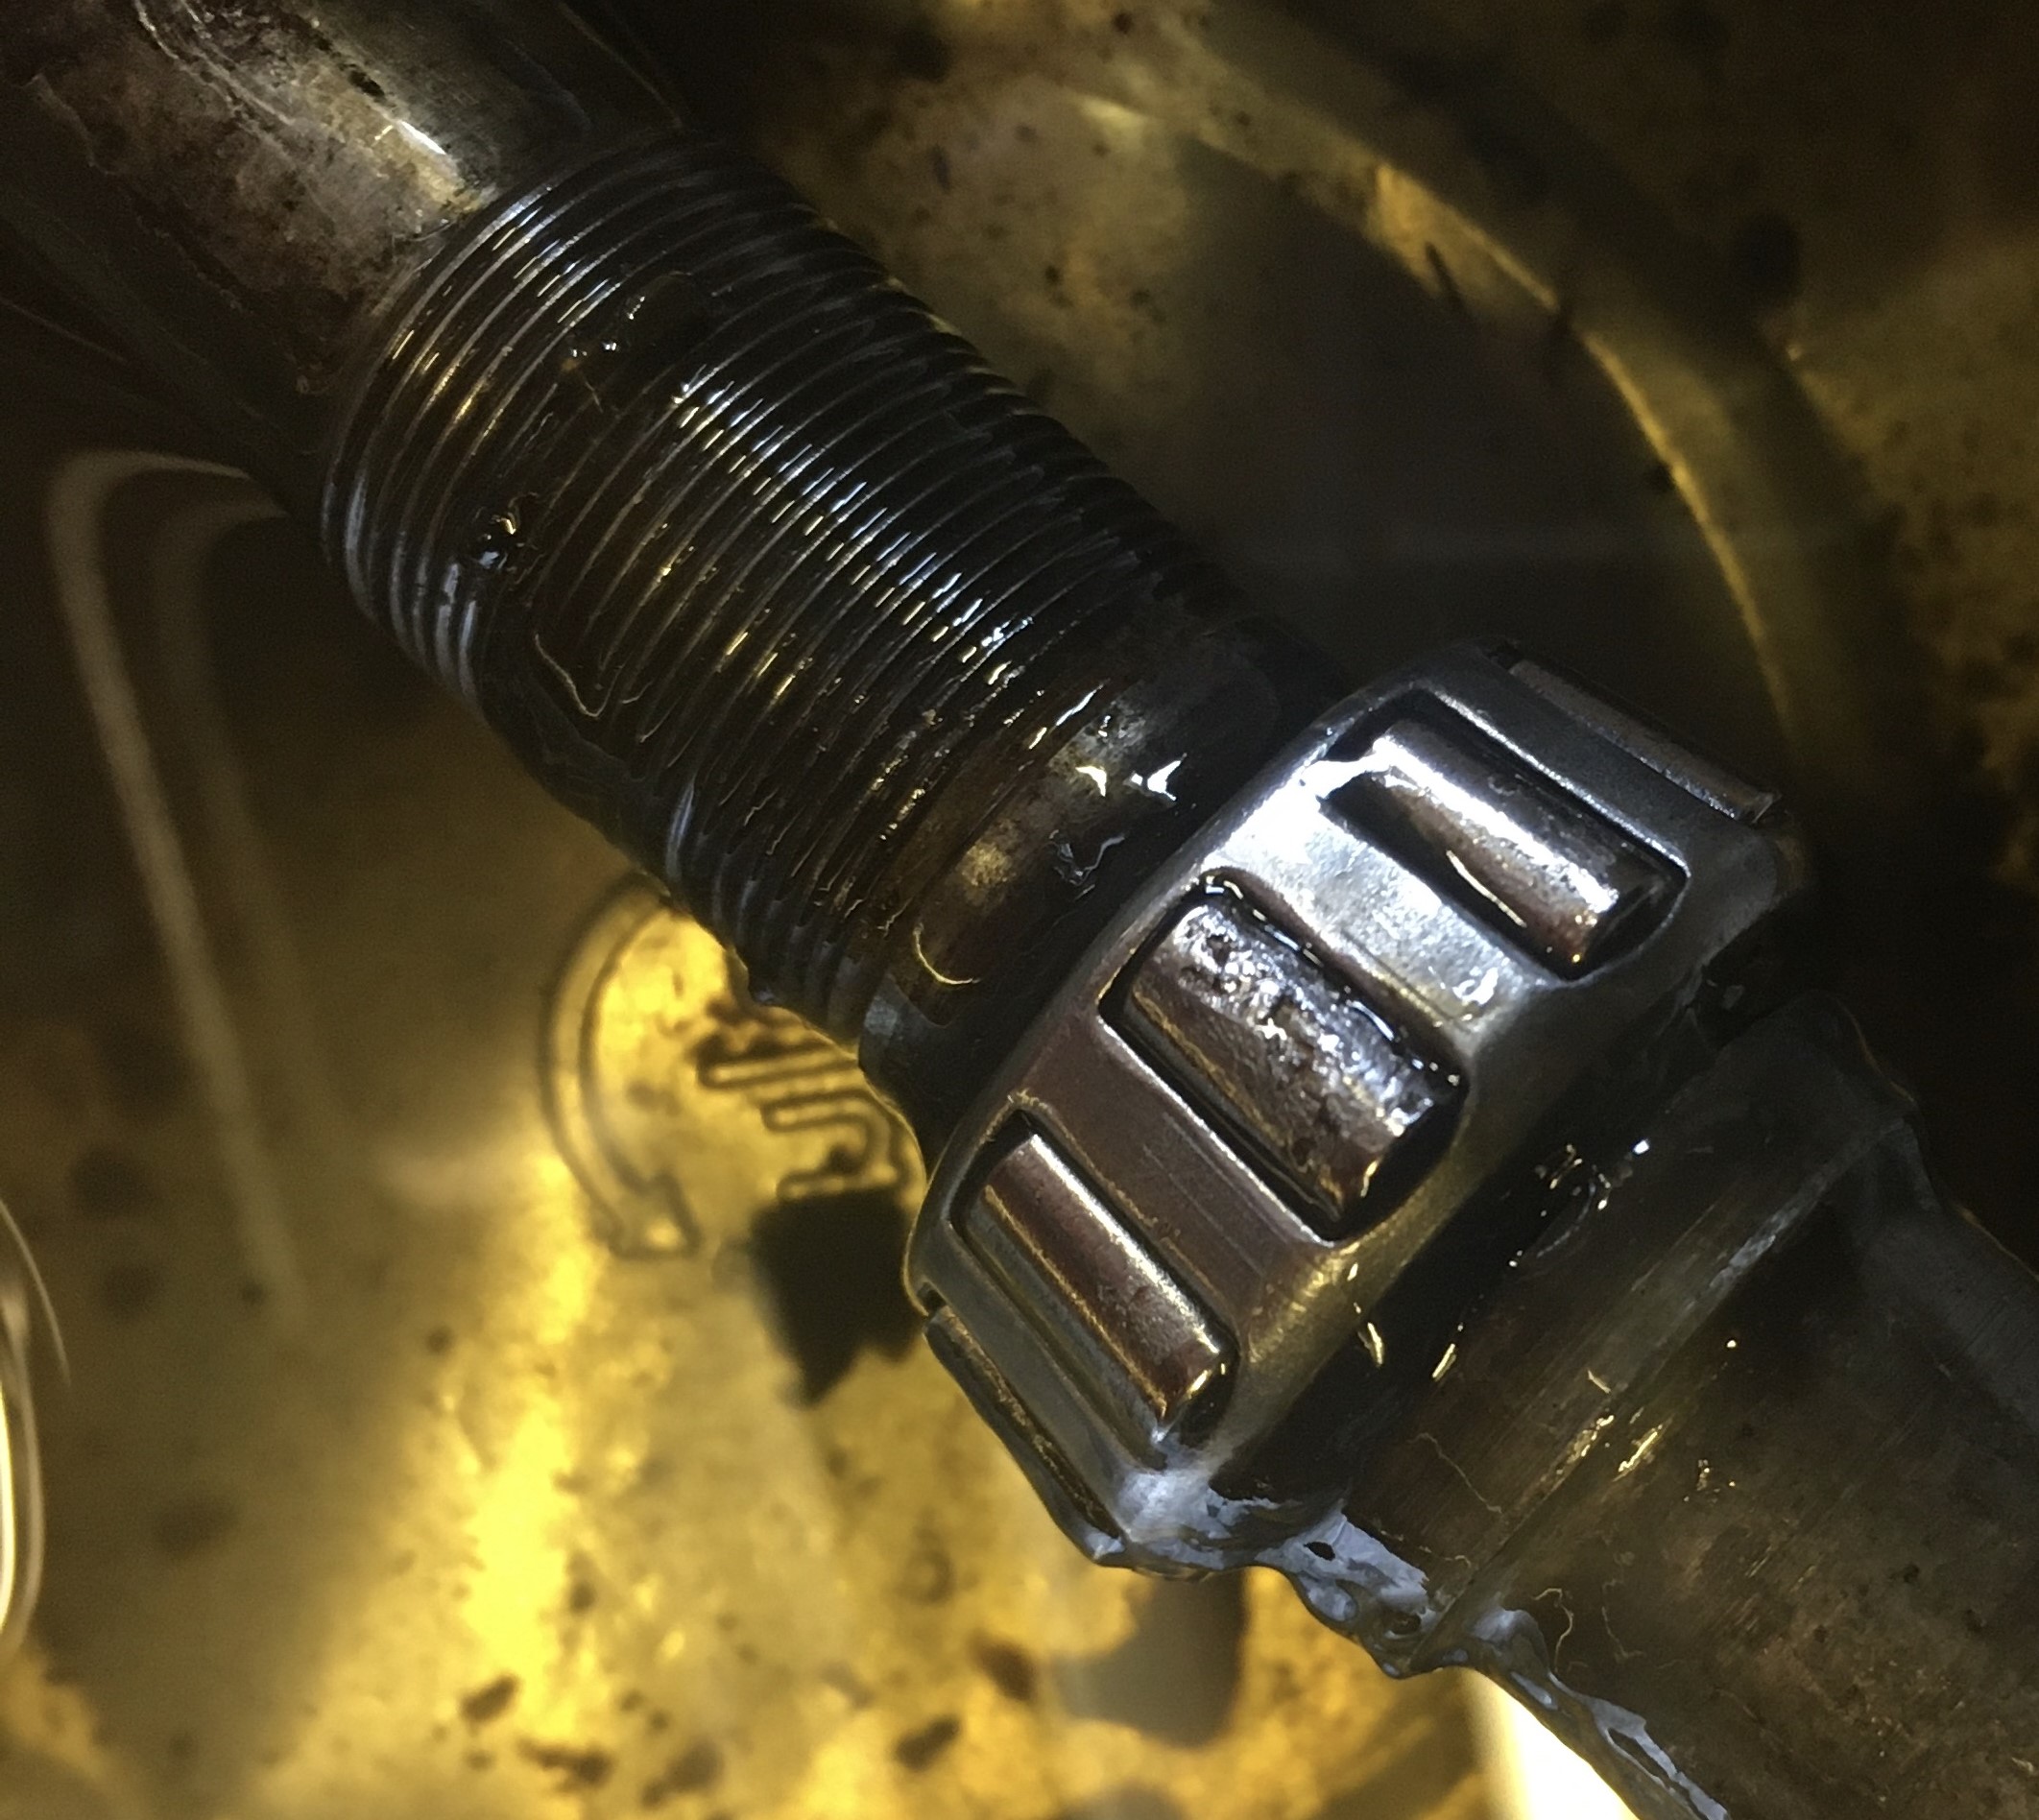
Pitted rollers on front bearings
As with the rear hub bearings, check them thoroughly for pitting and damage of any kind. You can refit them if they are perfect, if not, you will need a new assembly complete. Originals are no longer available. There is a company which makes a replacement bearing and spindle assembly, but I do not recommend them at this time…you can read the story here. Worryingly, the AJS & Matchless Owners Club appear to be selling the same component…but at a higher price. I suggest you contact Steve at AMC Classic Spares and buy his Andrews Engineering design…a complete cartridge assembly that needs no ‘adjustment’ like the original design does. In retrospect, I wish I’d done the same…but the other spindle was already installed when I realised there was a problem.
The Owners Manual details the reassembly and adjustment of the front hub. Once again, check your brake assembly whilst everything is apart. On reassembly, remember to centralise your brake plate in the drum, before tightening everything up.
What did I find when I dismantled my front hub?
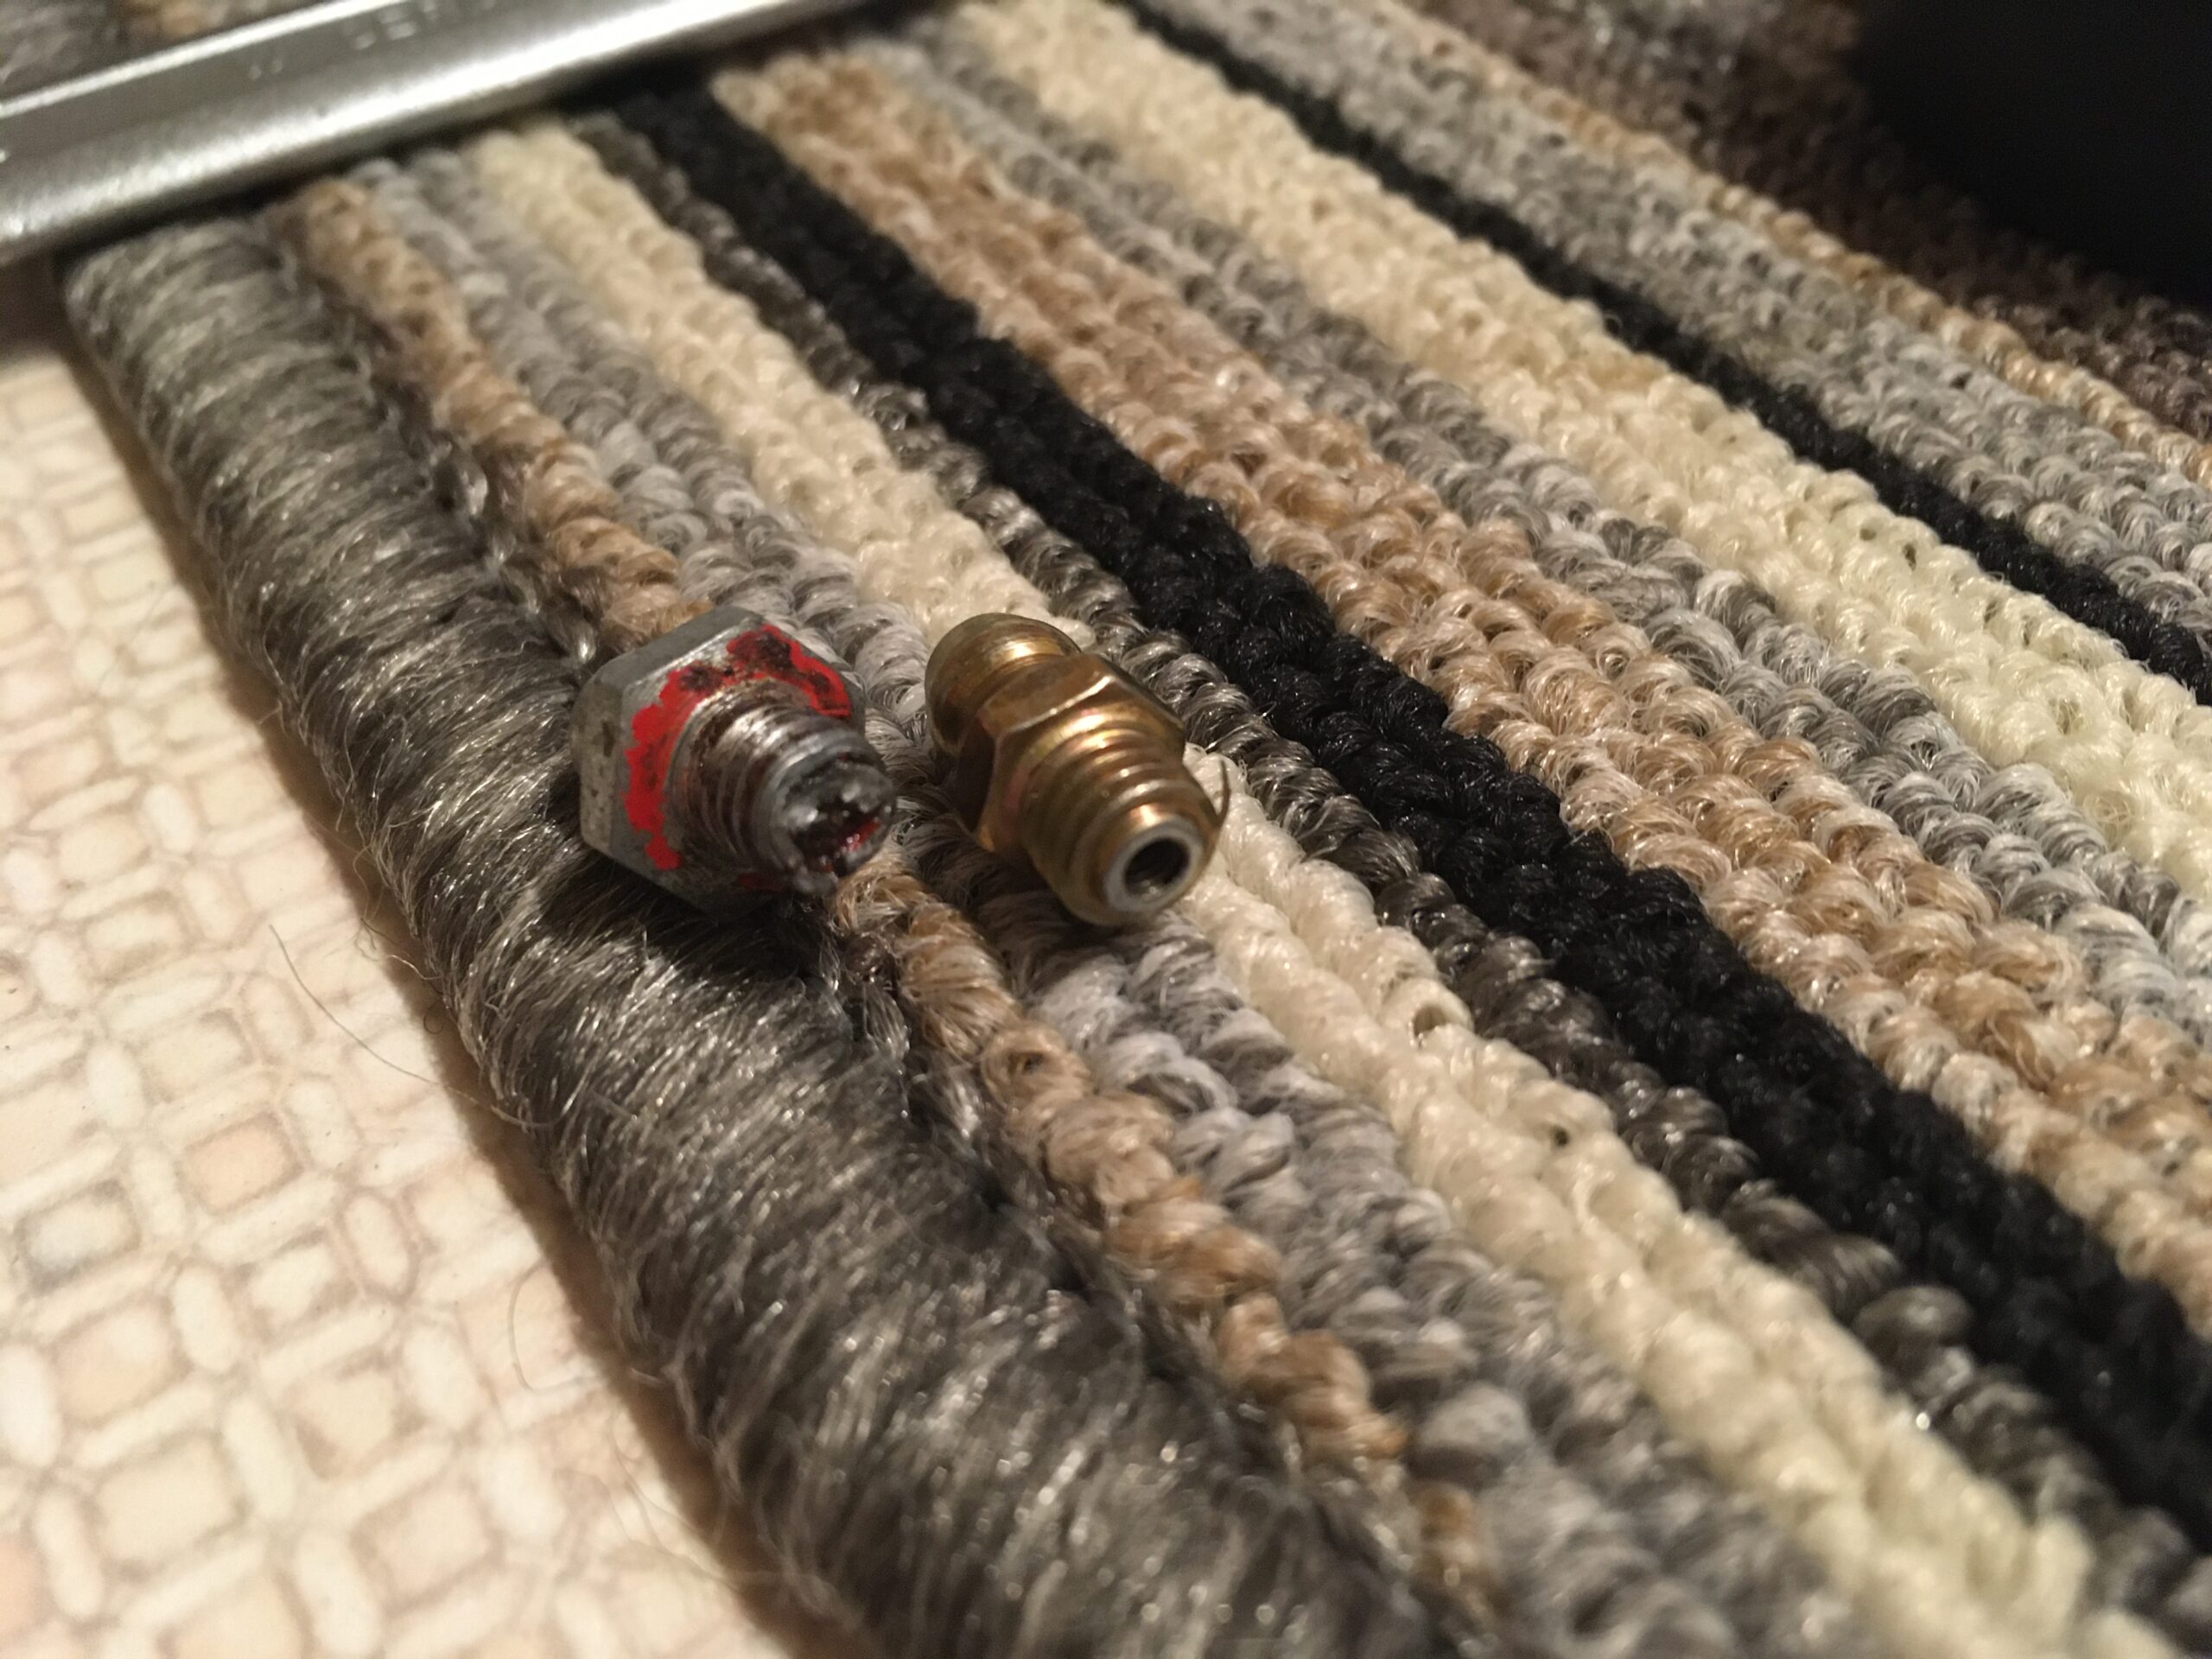
Nipple Damage!
Cousin strikes again. I removed the grease nipple and discovered someone had obviously removed a bearing at some point…it had sheared the bottom off the nipple in the process, rendering it useless. That would also explain the fact that there was no grease in the hub, but just enough in the bearings to keep them going. I once again discovered a missing seal on the circlip side; only the washer was installed, no cup washer or felt seal. The circlip will not go back in unless you push the bearing in slightly first, then push it out, as described in the manual. No grease appeared to have leaked out…but then there was none in to start with!
Many of the rollers on the taper roller assembly were pitted, as were the races, so my assembly was replaced using the replacement part mentioned and not recommended previously.
Once packed (rather than repacked in this case) with grease and reassembled, the wheel felt like brand new to turn. I think there may be a little too much play in the bearing, so I’ll ride it for a hundred miles or so before readjusting the bearing.
Ready for the road again
The wheels were put back on the bike and then adjusted as per the Owners Manual. I took the bike out for a decent test ride before the cold weather set in, it felt great, so I’m looking forward to many miles of enjoyment in 2023 and beyond.