The FT-817 from Yaesu has been one of the most popular portable QRP radios ever made; the discontinuation of the FT-818, its successor, was announced in early 2023. They give you essentially, a shack in a box. Full HF coverage plus 6m, 2m and 70cm, using all popular operating modes: USB/LSB/CW/AM/FM/Packet/PSK-31/RTTY. Power output is up to 5W, with 1.5W on AM. The differences between the original FT-817 and the FT-817ND are minimal, mainly adding the 60 metre band, display lighting options and modifications in the RF stage. Many thousands were sold. Amateurs around the world used them for portable and mobile work, back packing and even as a main station rig.
Some amateurs have a recurring itch to increase the coverage of each transceiver they buy, often widebanding the transmit and receive coverage. If you’d like to do this to your Yaesu FT-817, read on and I’ll tell you how to do it.

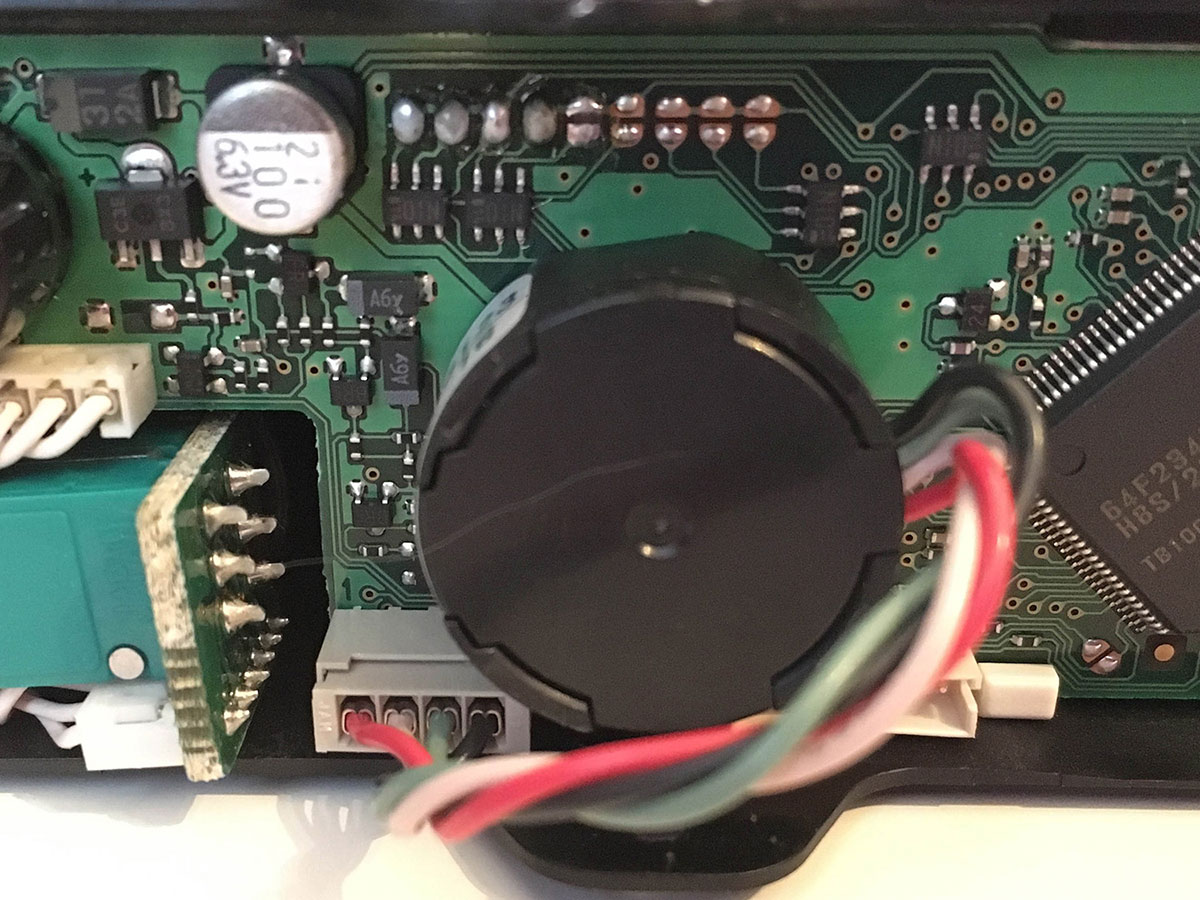
FT-817 Before Wideband Mod
Make sure your radio is switched off, disconnected from the mains and the battery removed, before starting.
You undertake this modification entirely of your own volition and at your own risk…if in doubt, take your radio to an authorised dealer or competent engineer.
The FT-817 is compact and therefore the parts are small and fiddly to get at. In order to wideband your FT-817, you will need to remove the top and bottom covers, then carefully release the front panel from the main chassis. Be very careful as everything is fragile. If you have a very fine soldering iron, you may be able to perform the modification easily, but you may need to remove the circuit board from the front panel, to gain better access to the link pads. This is achieved by carefully disconnecting the ribbon cable between the front panel and main chassis.
For reference, you can find the FT-817 Operators Manual here and the Service Manual / Technical Supplement here.
FT-817 After Wideband Mod
Remove the smaller knobs (they should simply pull off), then the rubber ‘tyre’ on the main tuning knob, then remove the knob with an allen key. You will need to remove the nut securing the main tuning spindle and that on the volume / squelch control. Finally there is a small philips screw holding the circuit board in place. You should then be able to carefully remove the circuit board from the plastic front panel shell.
You will then need to use a fine soldering iron and solder removal wick or solder sucker to change the soldered links; see photos.
Once done, reassembly is the reverse of disassembly…no surprise there then 😉
Hold down the ‘F’ and ‘V/M’ buttons and turn the radio on. The modification is complete.
There’s a link to a Yaesu modification document here which shows two different selections.
The two photos on this page are courtesy of SM7UZY.