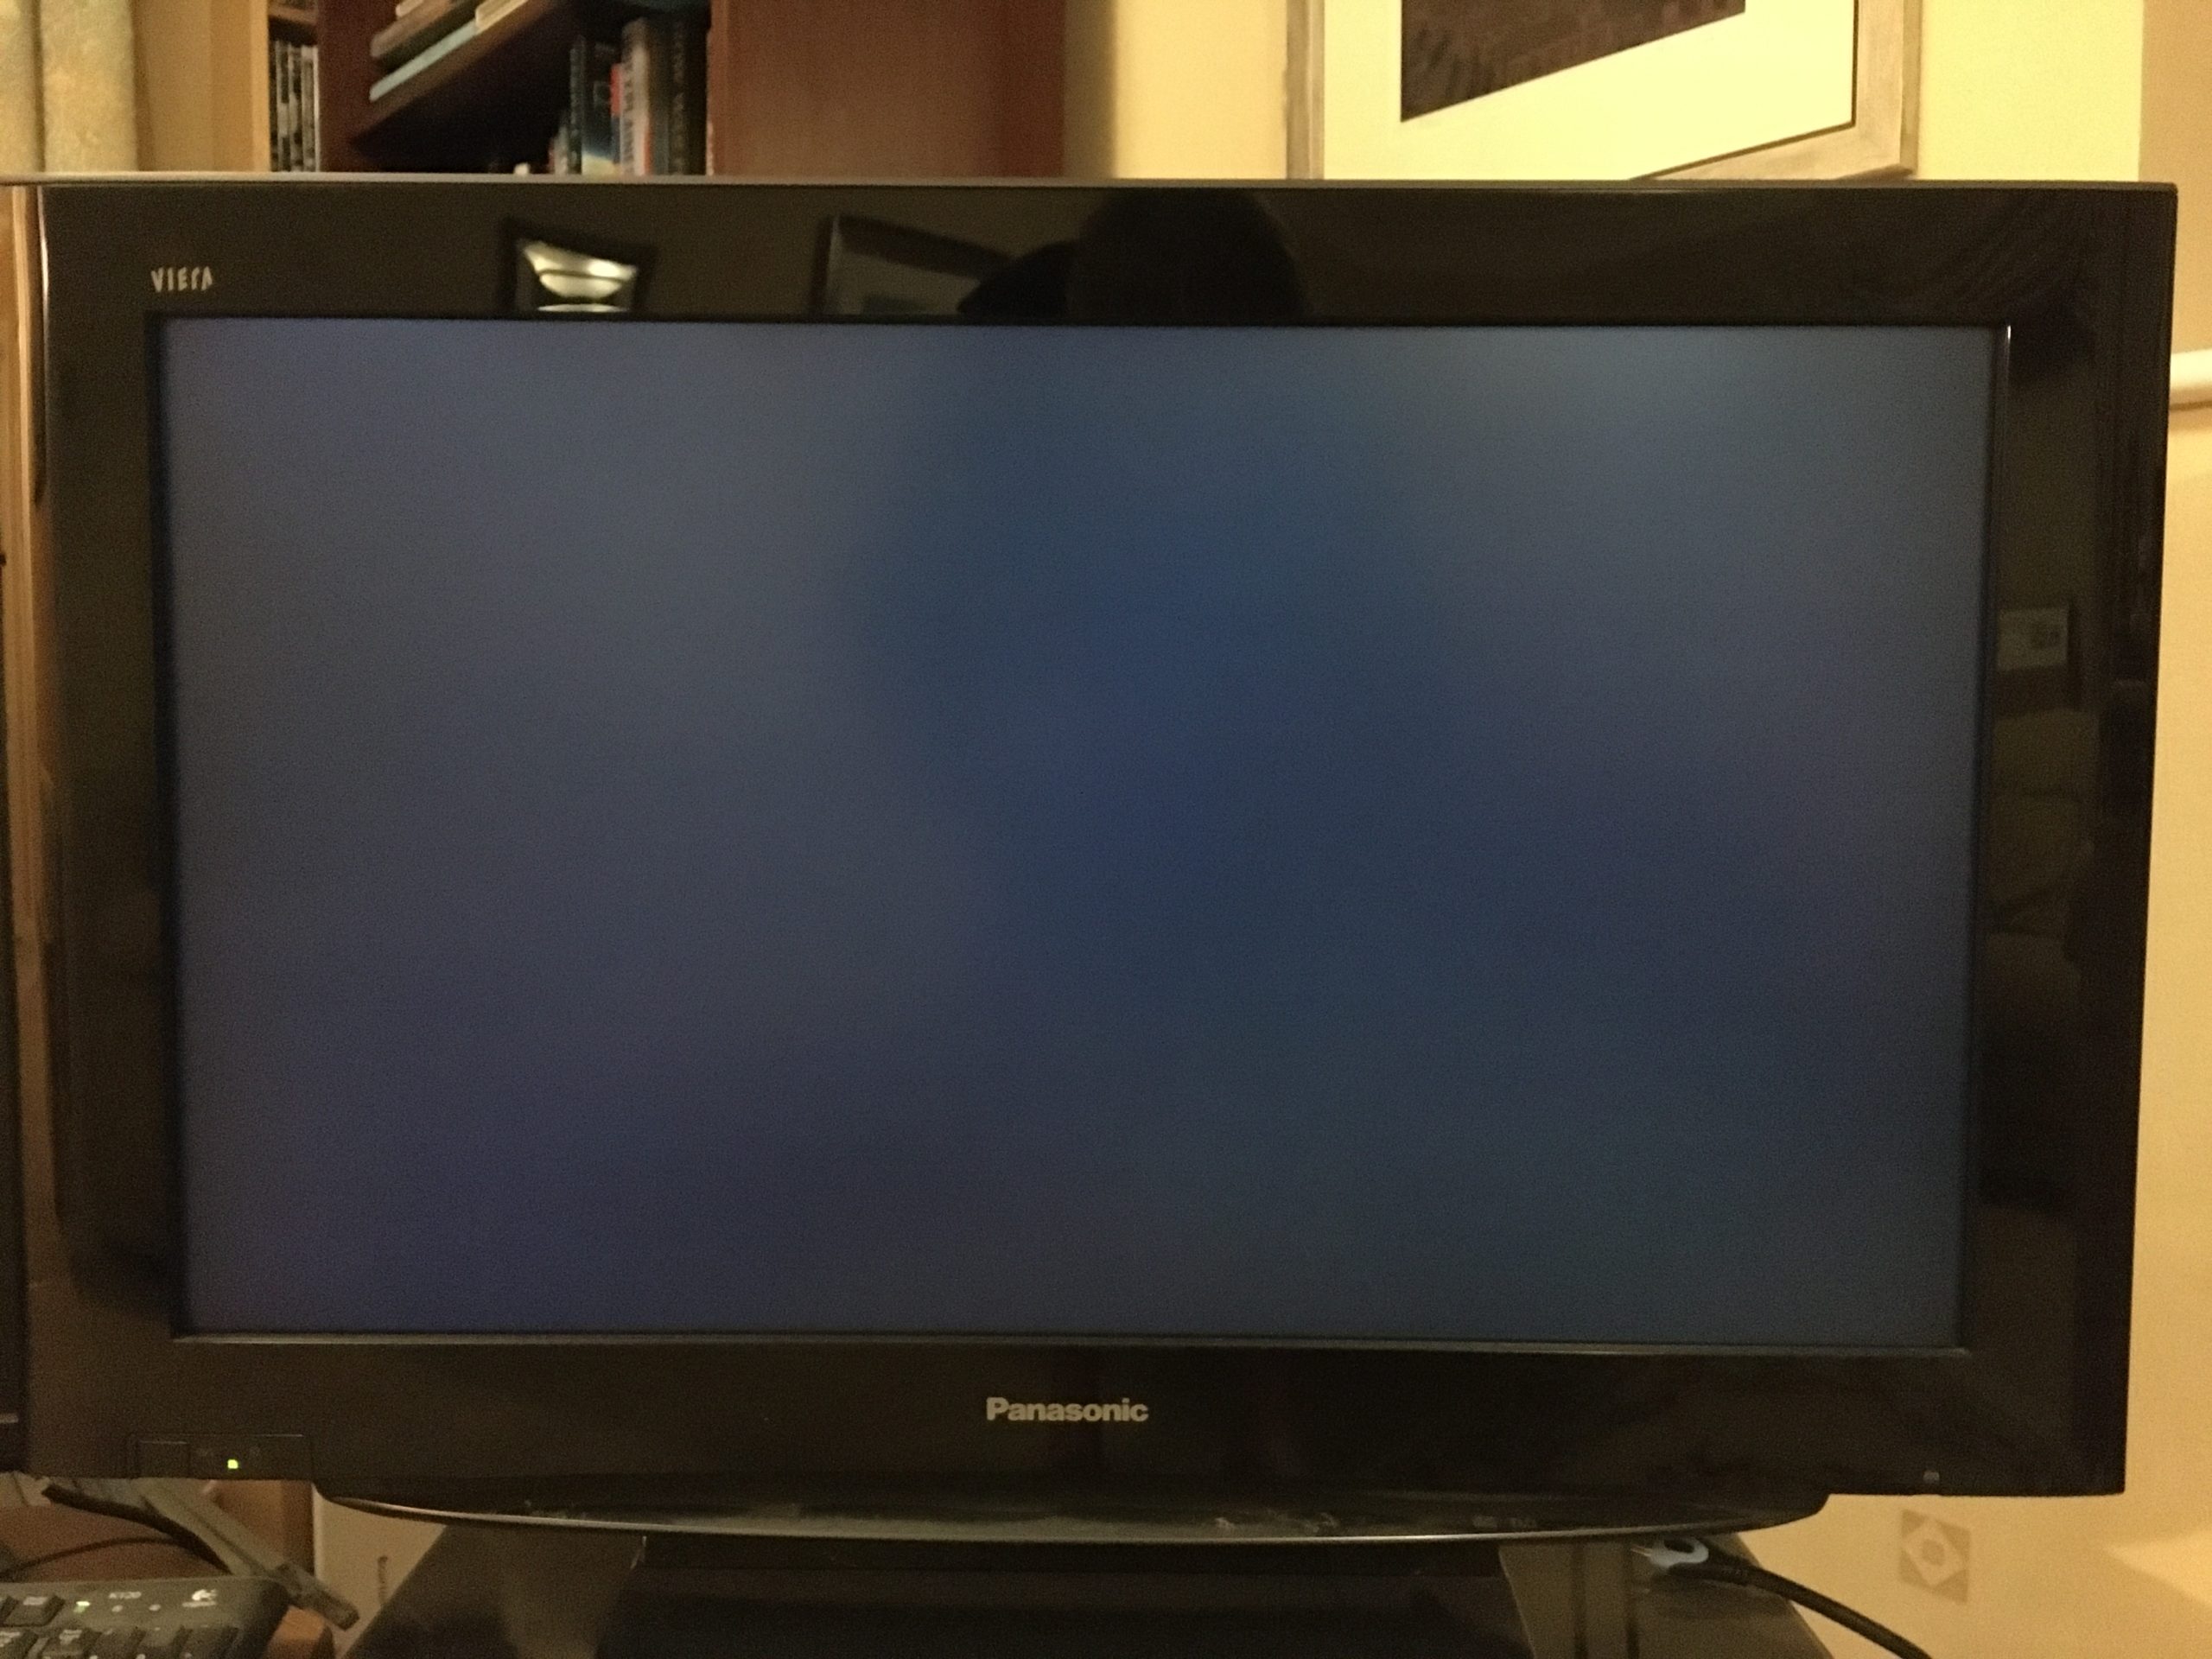
You can just tell that the backlight is on
Way back in 2005 I bought a brand new flat screen LCD television to replace my old Philips 24 inch CRT one. I chose a Panasonic TX-32LZD80 from John Lewis and got a five year warranty. It’s given sterling service until about a week ago. I’d left it on and gone to make some tea…when I cam back, the sound was on, but no picture of any sort. I could just make out that the backlight was on.
I borrowed another television from a neighbour and searched for the problem on-line; why reinvent the wheel, if you know what I mean.
It turns out that there is a common fault on these televisions in that the 1.6A 24V fuse on the T-CON board goes open circuit for no apparent reason. Simply replacing the fuse, usually restores full working order. Make sure you disconnect all cables before proceeding. This post is offered on an ‘as-is’ basis…it may not be the fault on your TV, you might get it wrong and render your TV scrap. You undertake this procedure entirely of your own volition and at your own risk. It’s sad that these days, you need to post this disclaimer.
Removing the back of the TV is straightforward. There are many identical self-tapping screws to take out, they are marked with a small arrow; don’t take out the two near the middle at the bottom, without arrows, as they hold the stand in place. There are also four smaller self-tapping screws to remove on the SCART video and audio interface area. You may have to pull a little to get the back off as it is probably ‘held’ by the rim seal.
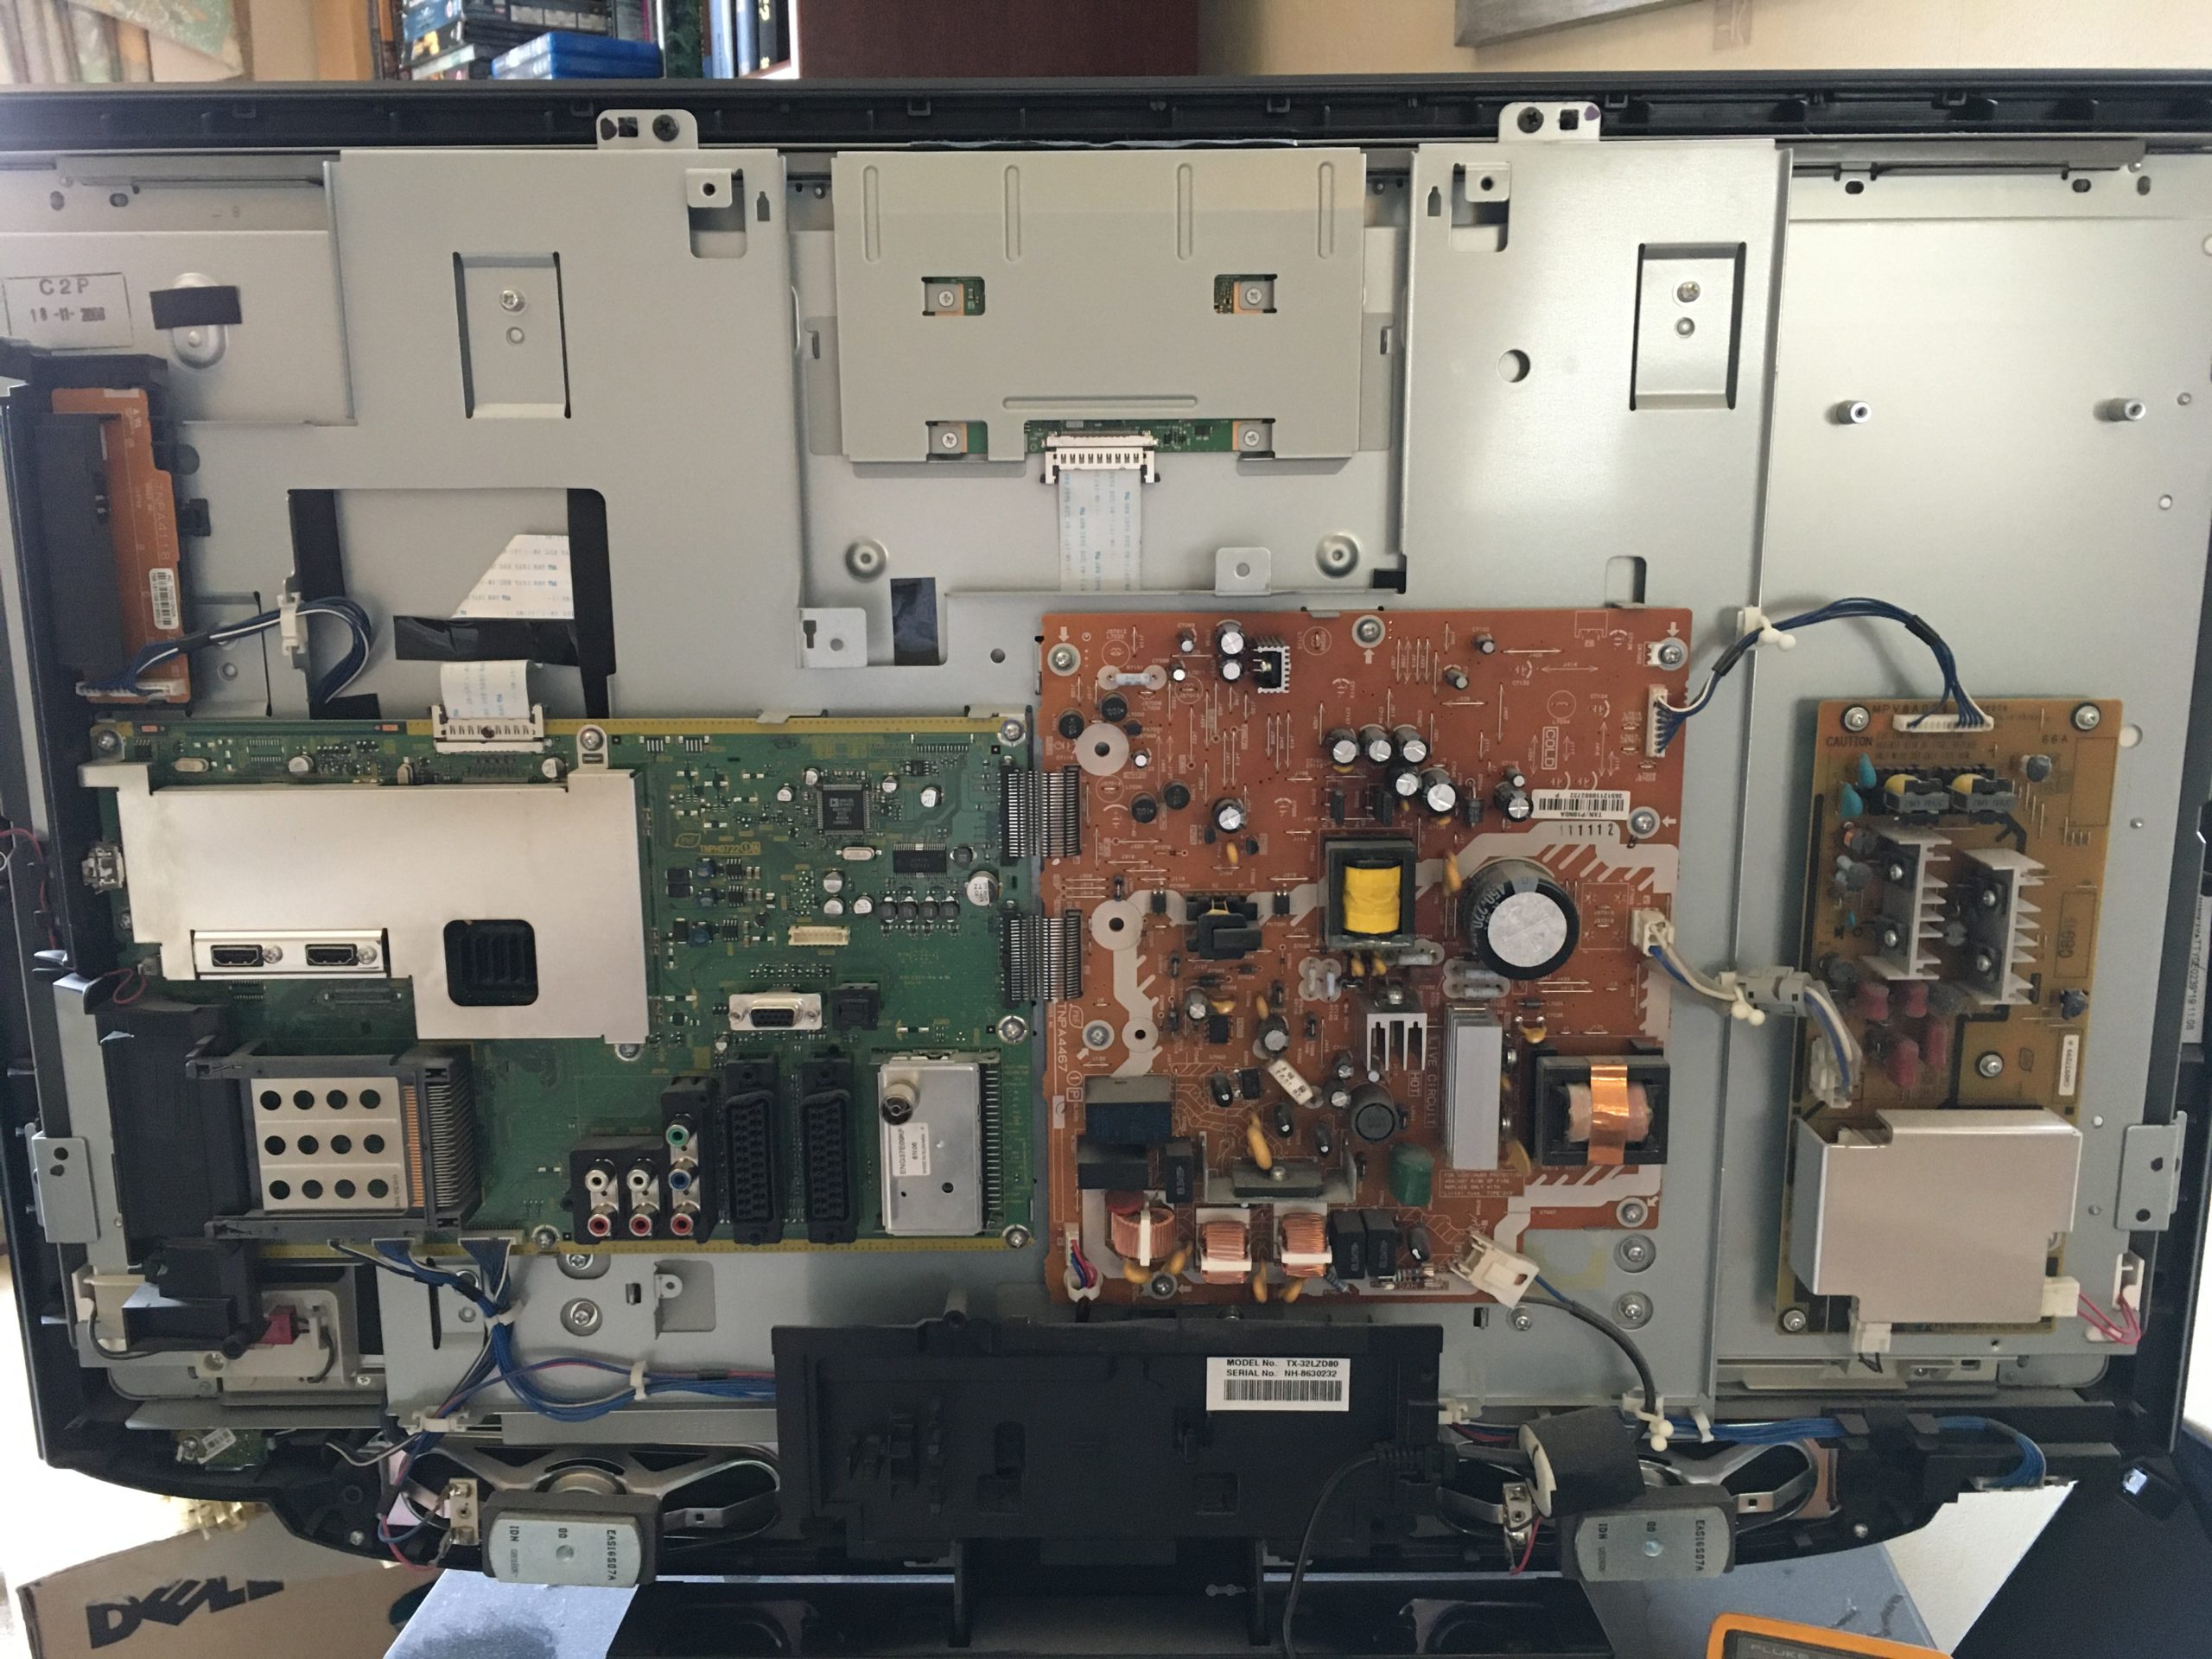
Back and plate removed, T-CON at the top
Once off, there is a metal plate secured by two screws in the middle at the top. Remove the screws and it hinges up to remove. The T-CON board lives in the middle, at the top, under another small metal plate. Remove the four screws, making sure they don’t drop inside the television, and take the plate off. Take a clear picture of your T-CON board so you know how the ribbon connectors look when seated correctly. The T-CON board has three ribbon connectors, the two at the top are disconnected by flipping out the little brown retainers (carefully release them from the top – they hinge down) and the lower ribbon cable is removed by squeezing the sides of the connector and gently easing the connector off.
The fuse that fails is marked ’24V/1.6A’ and sits immediately to the right of the lower ribbon connector (LVDS). A check with an ohmmeter will confirm it is open circuit…or not, you never know. Don’t be tempted to use a larger fuse, as the 1.6A size is not easy to find in small quantities.
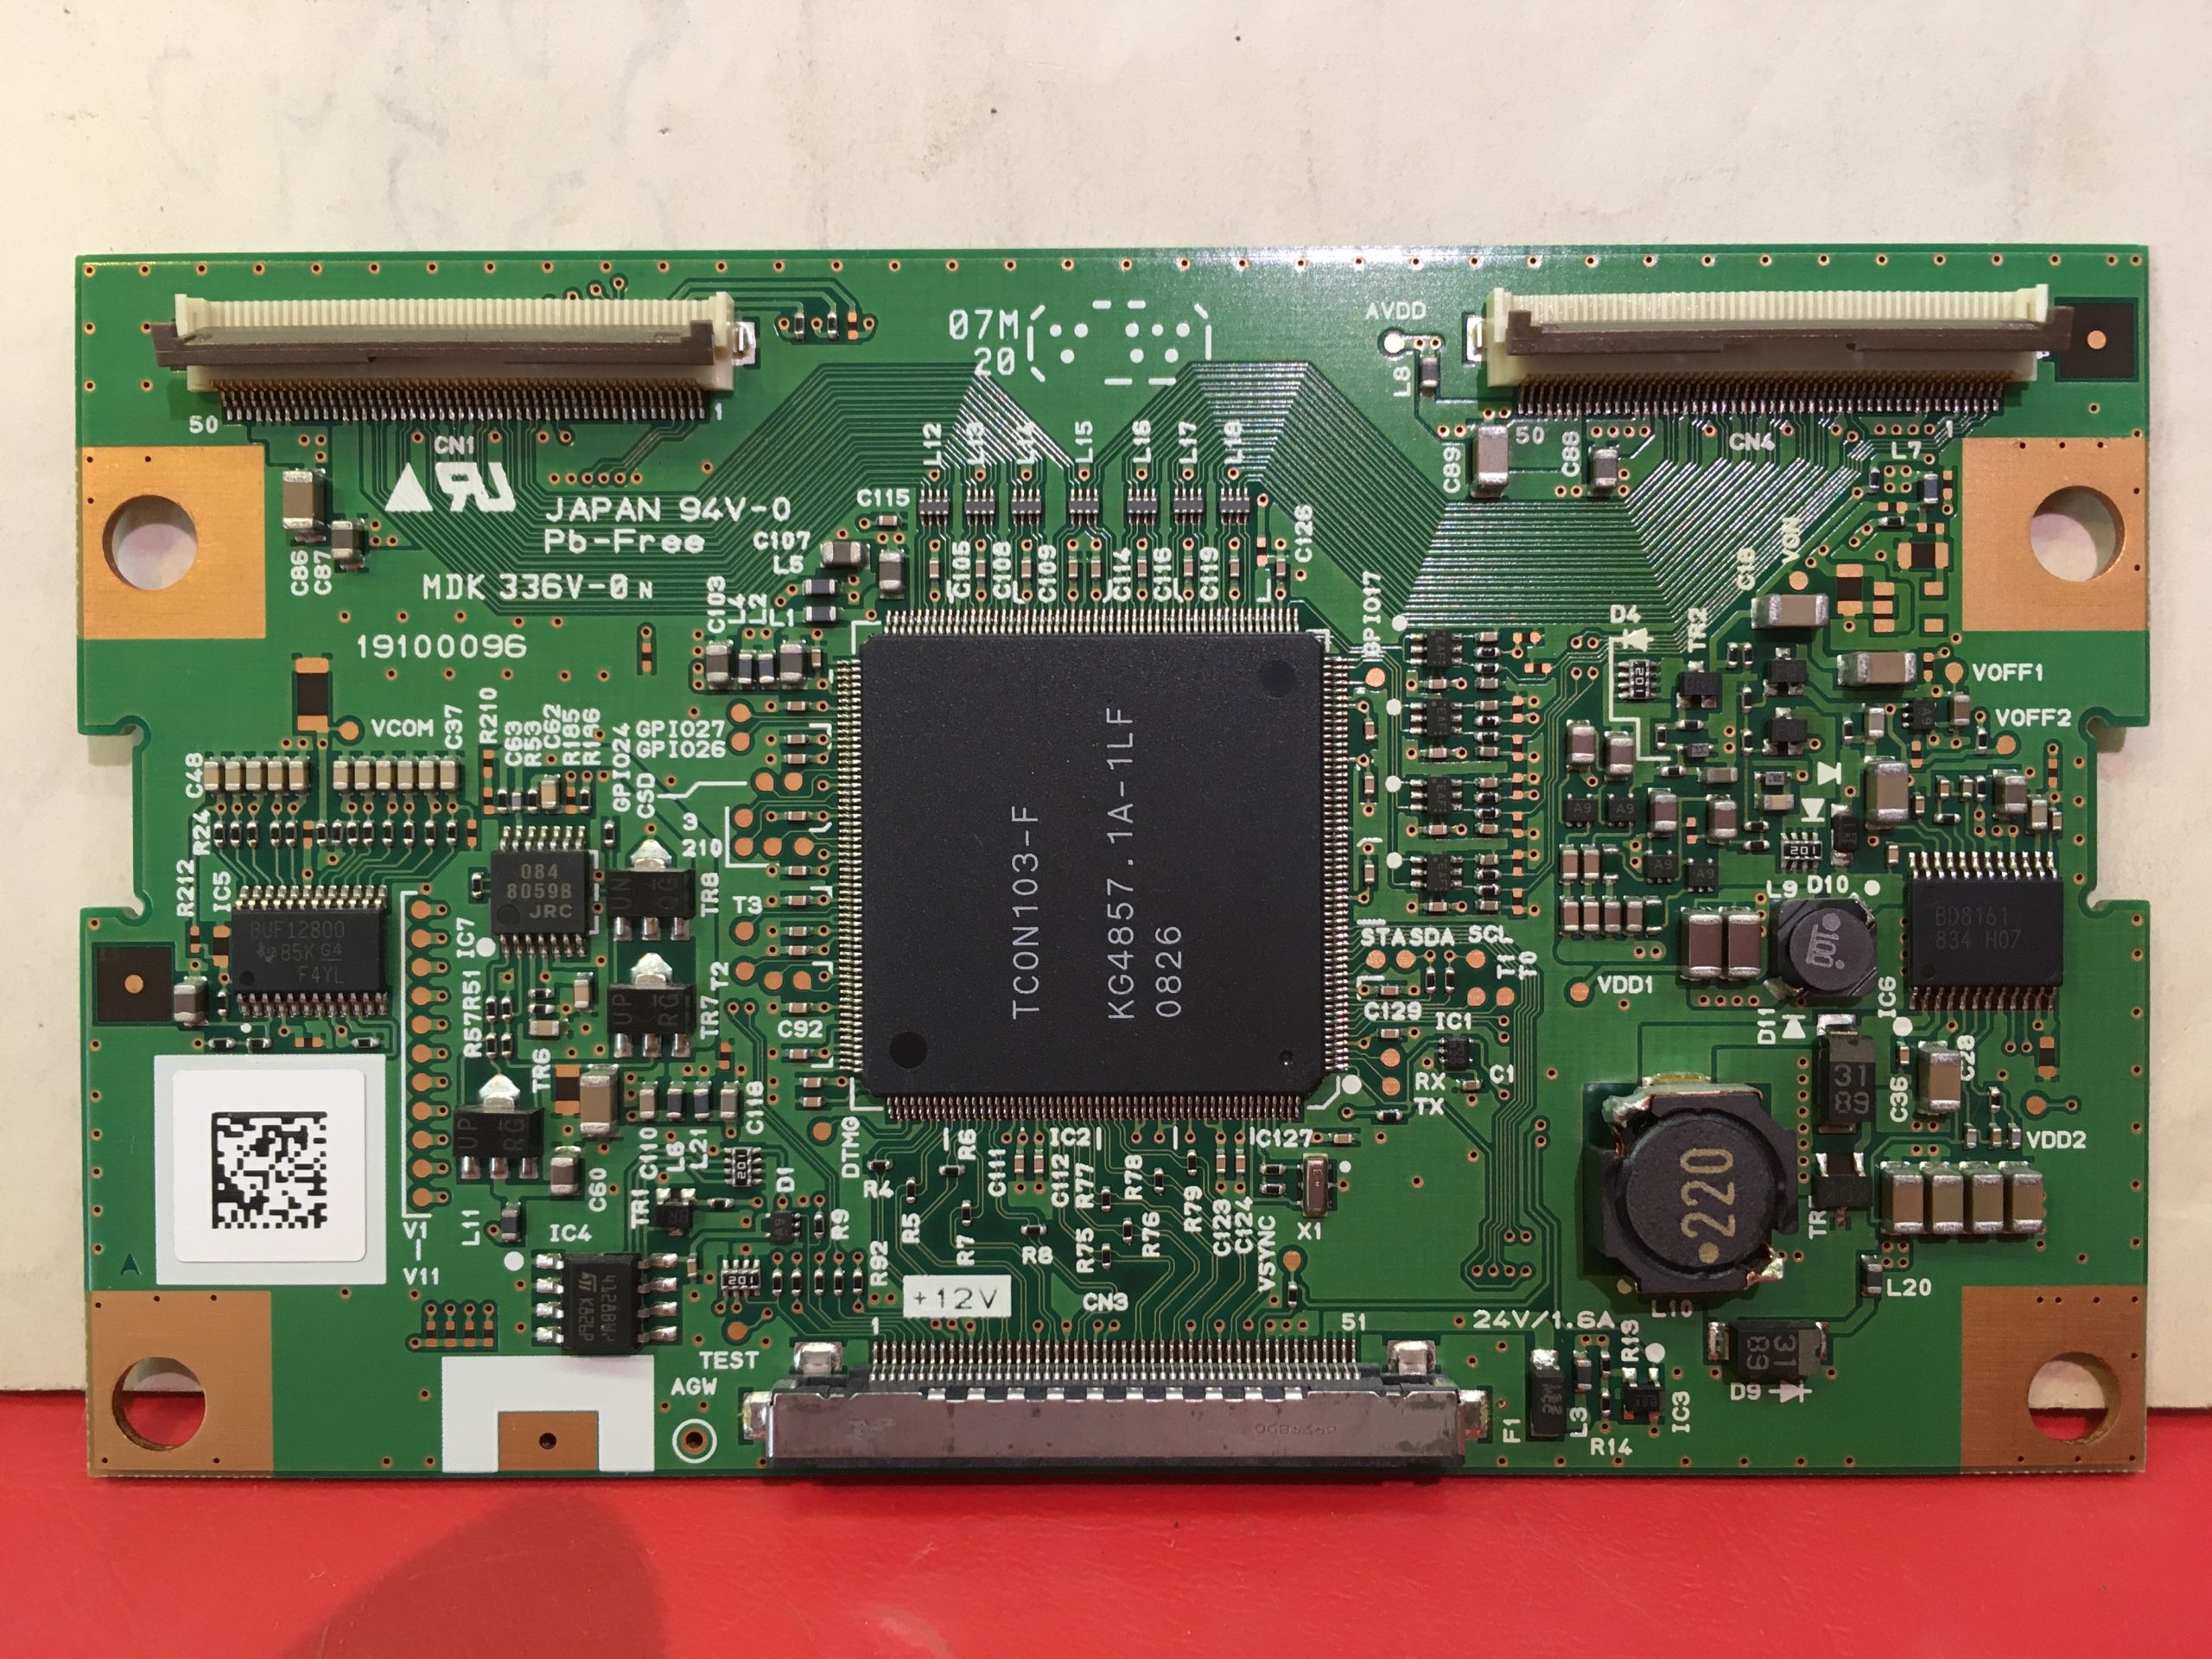
The T-CON board
The original is marked 162 NCC and is SMD size 1206. In the UK, places like Farnell, RS and CPC sell similar fuses…but they have high handling charges for small orders. The ones I bought were from Amazon described as ‘BOURNS FUSE, SMD, 1.6A, SLOW BLOW, 1206 SF-1206S160W-2 Pack of 5’. They are slightly wider than the original fuse, so check they don’t touch any adjacent PCB tracks.
I’m not going to tell you how to replace an SMD component…if you don’t know how to do it, find someone who does and get them to do it. Treat the T-CON board with care and observe static precautions.
Once the fuse has been replaced, reassembly is the reverse of disassembly…no surprise there then! Be very careful when reconnecting the three T-CON ribbon cables; make sure they are located and secured properly…refer to the photo you took if needed.
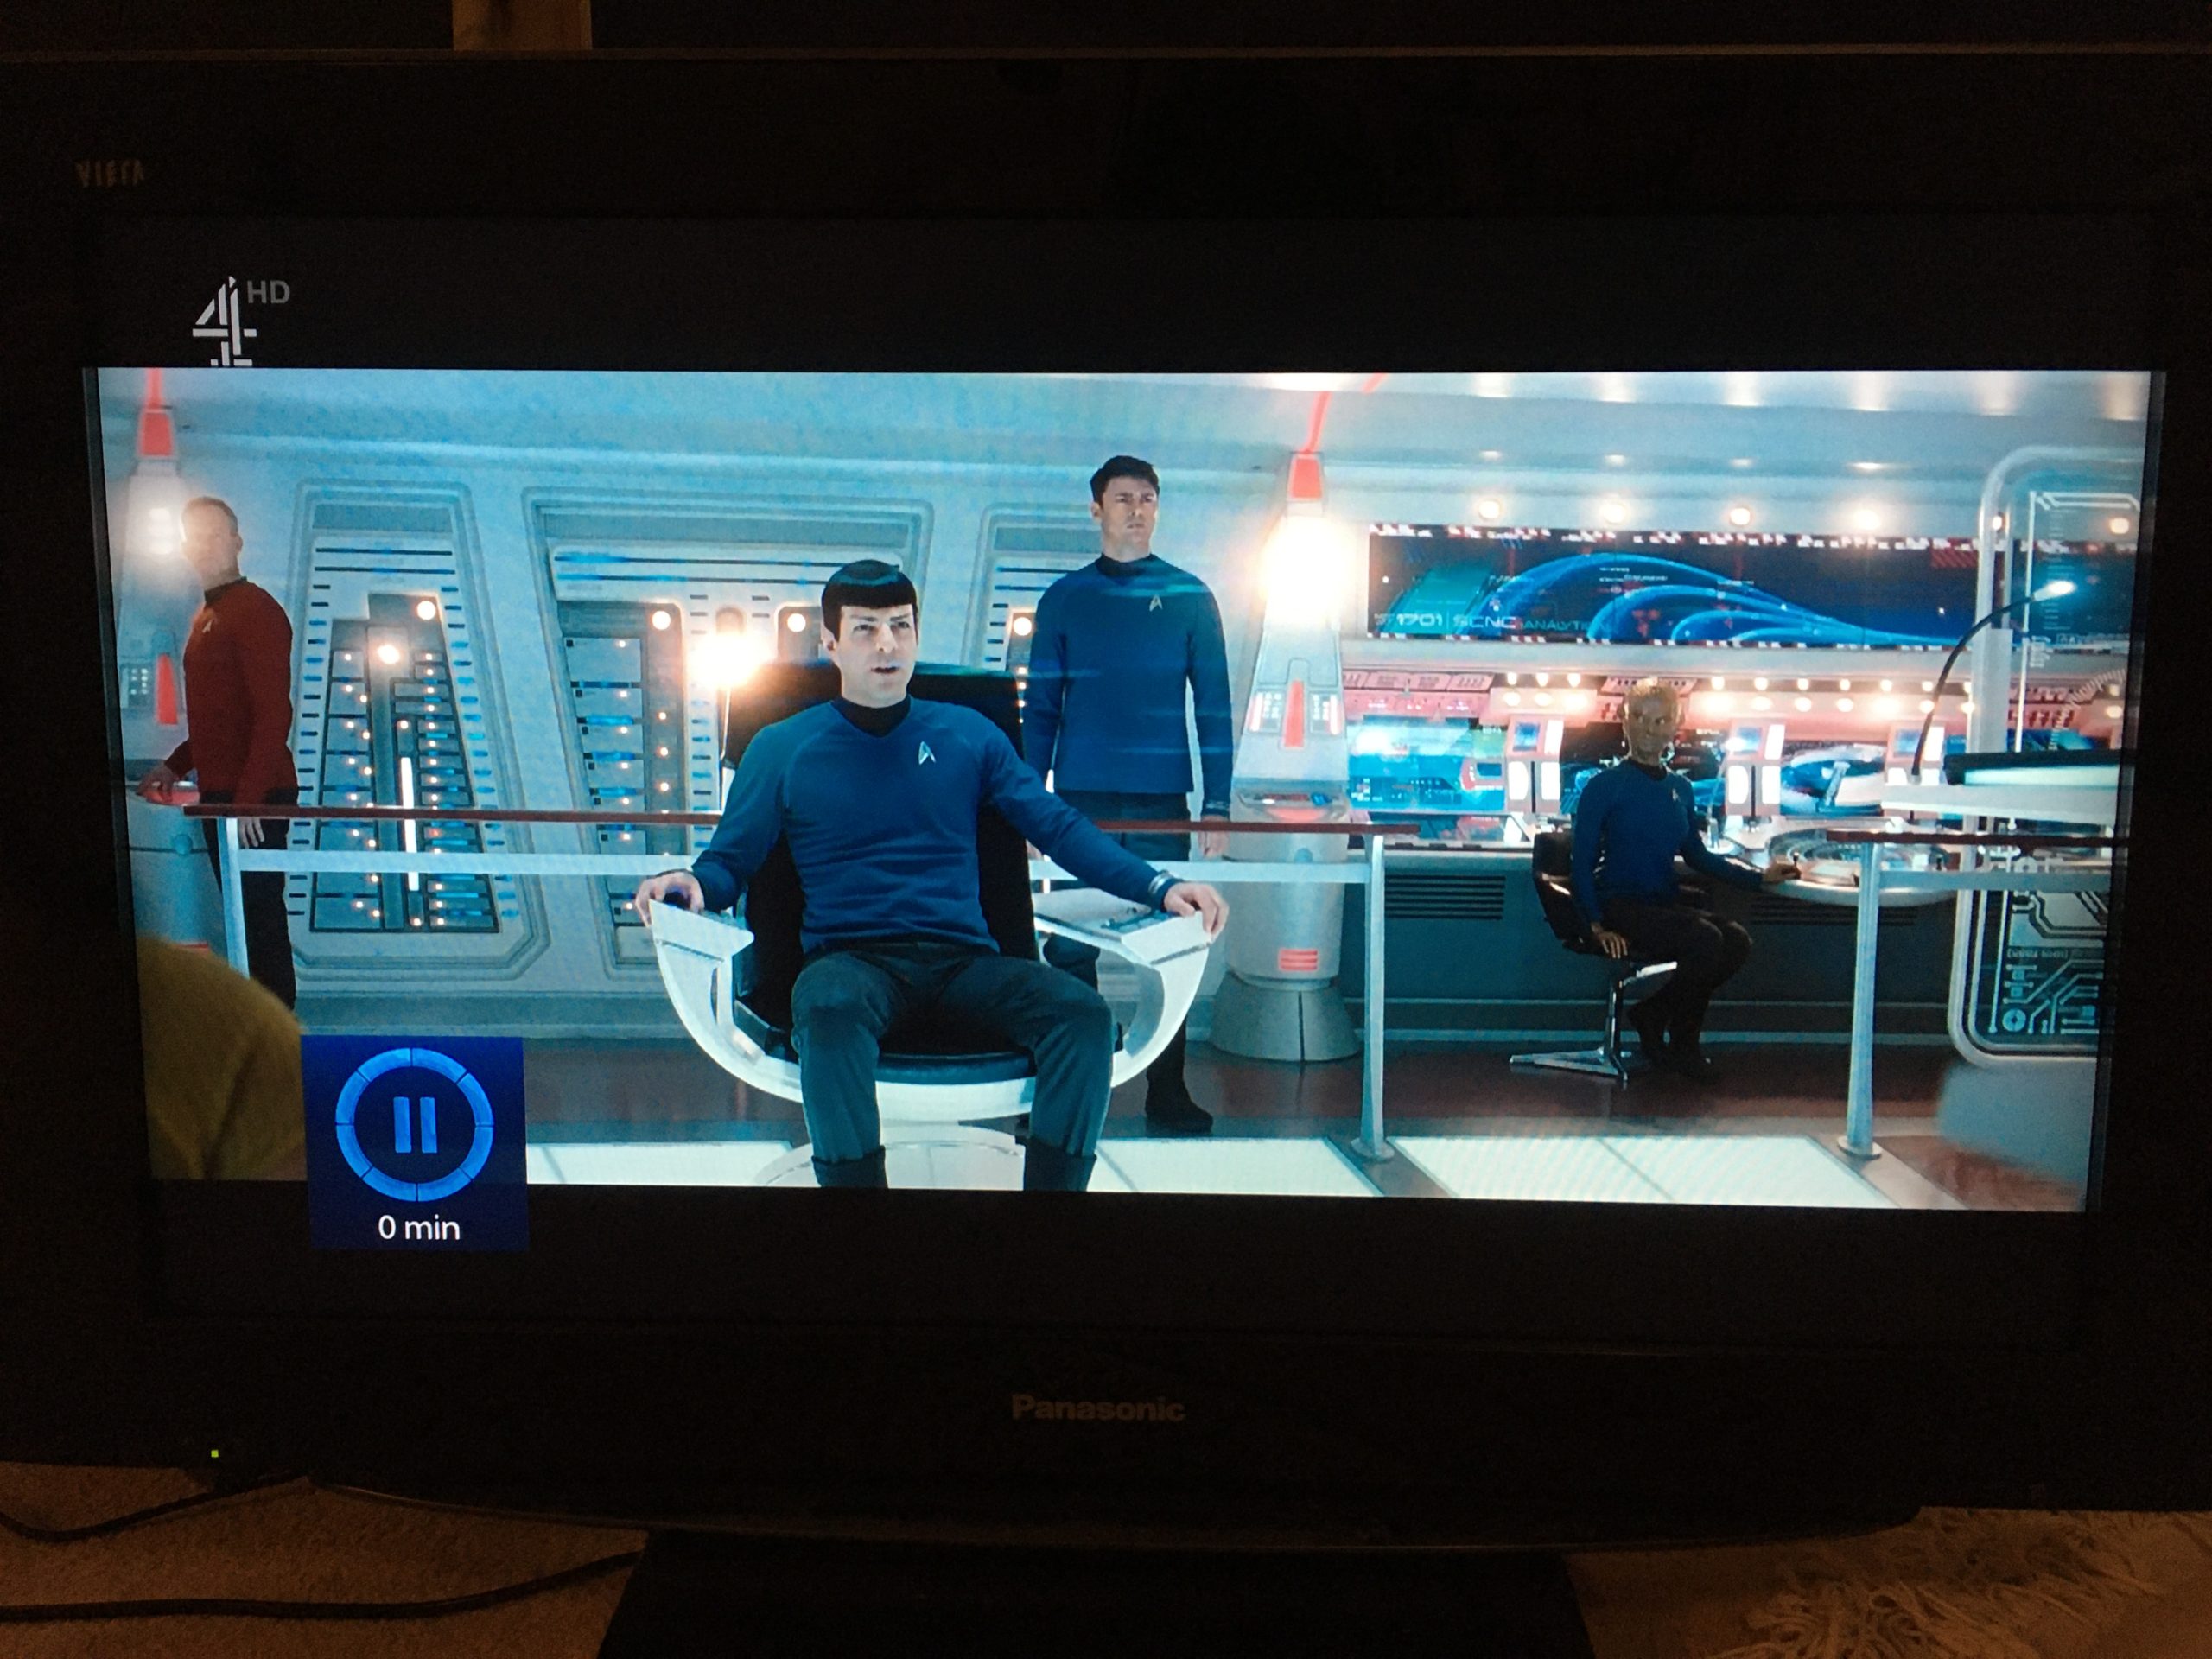
Normal service is resumed
Hopefully your Panasonic TX-32LZD80 will last you for many more years. These were one of the last well made, Panasonic televisions I’m told. The newer ones are built down to a price…like most other things sadly.
By the way, the fuses cost me £5-25 including postage….somewhat less than the price of a new television.